Making a Wedding Invitation in Photoshop
This tutorial shows how to create a scorched parchment texture, for a website design or a wedding invitation card.
If you plan on printing this design out, I'd recommend making it about 3000 pixels wide, by 4500 tall. Use Ctrl- to zoom out
1 – Creating the initial paper colour and texture
![]() Create a new layer.
Create a new layer.
![]() Choose the Selection Tool, and select a rectangle in the centre of the area.
Choose the Selection Tool, and select a rectangle in the centre of the area.
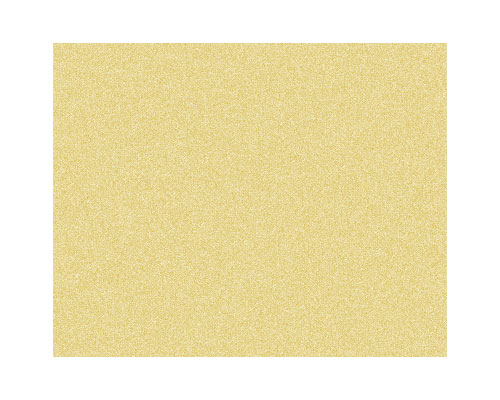
![]() Fill the area with a tan colour. I've used #E8E0BE here. Press Ctrl+D to deselect the area.
Fill the area with a tan colour. I've used #E8E0BE here. Press Ctrl+D to deselect the area.
![]() Create a new layer.
Create a new layer.
![]() Fill it with 50% grey.
Fill it with 50% grey.
Click Filter > Noise > Add Noise. Set it to 10%, Gaussian, Monochromatic, and press OK.
Change this layer's Mode from Normal to Overlay.

2 – Scorching the parchment
![]() Create a new layer.
Create a new layer.
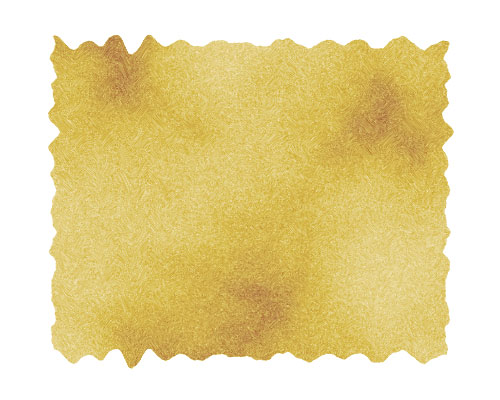
Set the colours back to black and white, by pressing "d", and Click Filter > Render > Clouds.
Change the layer's Mode from Normal to Color Burn, and set its Opacity to 50%.
The next step is to distort the edges of the paper, to give it a jagged appearance.
In the Layers list, click on your tan-coloured, paper layer. It should be called "Layer 1".
Click Filter > Distort > Wave, to bring up the Wave window. There's a lot of guesswork involved here. You may need to try this a few times, until you get a Wave effect you like.
Set the number of Generators to around 100. This creates a hundred sources of ripples, which creates a very random effect over all. (Having less Generators produces more regular waves, which isn't what we want here. Think of the number of Generators as being the number of pebbles you're throwing into a pond.)
Set the Wavelength, Amplitude, and Scale sliders to low numbers (around 10), and press OK.
This wave will now be saved, so you can click on Layer 2 and Layer 3, and Click Filter > Wave (or Ctrl+F) to repeat the same wave on each layer.

3 – Adding some cursive text and a Drop Shadow
At this point, change the colour of Layer 1 by pressing Ctrl+U, to adjust its Hue/Saturation properties. I do this for almost everything I create in Photoshop.
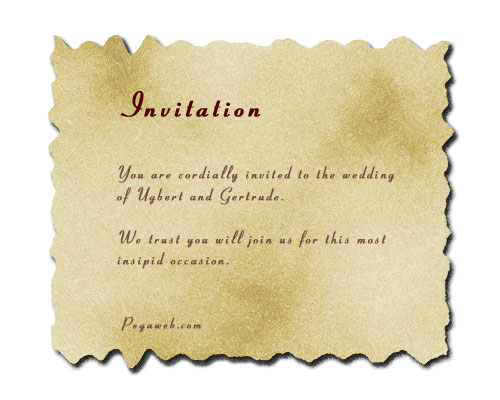
![]() Add in your own text. I've used the Pageant font here.
Add in your own text. I've used the Pageant font here.
For added effect, add a space between each letter, or increase the Tracking. (It's the "A V" on the Character Palette, which can be accessed by clicking Window > Character.)
Right-click "Layer 1" and choose Blending Options (Effects in Photoshop 5.5.) Give the layer a normal Drop Shadow, and press Ok.

4 – Text and decoration
![]() Create a new layer.
Create a new layer.
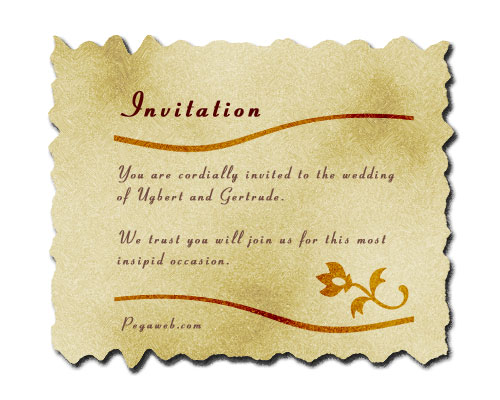
![]() To create the swirly dividers, choose the Selection Tool, and select a narrow strip.
To create the swirly dividers, choose the Selection Tool, and select a narrow strip.
![]() Fill the selected area with a dark brown. I've used #724C40 here.
Fill the selected area with a dark brown. I've used #724C40 here.
Press Ctrl+D to deselect.
Click Filter > Twirl, and press OK.
Change the layer to Color Burn.
Right-click this layer, and Duplicate it.
To flip the duplicate layer, click Edit > Transform > Flip Horizontal.
![]() If you're using Photoshop 6.0, 7.0, or CS, choose the Shape Tool to put in an extra doodad (a flower in this case.) Once you've clicked the Shape Tool, make sure the "Fill Pixels" square, at the top left of the screen, is selected. Then, click the drop-down box next to "Shape:". Click the sideways arrow, Choose "All", and press OK. Then select the Flower from the list. Hold Shift and apply it to your image.
If you're using Photoshop 6.0, 7.0, or CS, choose the Shape Tool to put in an extra doodad (a flower in this case.) Once you've clicked the Shape Tool, make sure the "Fill Pixels" square, at the top left of the screen, is selected. Then, click the drop-down box next to "Shape:". Click the sideways arrow, Choose "All", and press OK. Then select the Flower from the list. Hold Shift and apply it to your image.
Your own printable wedding invitation is now complete.
INGIN MENDAPATKAN INFO LANGSUNG KE EMAIL...? MASUKKAN EMAIL ANDA


waw great any baground texture wihte and blue
blog you is oke
Nice information. This is very important for me as my sister's wedding is coming to the next month. I can obviously create the card by myself.
Thanks
Mishu
I blog often and I genuinely thank you for
your content. The article has really peaked my
interest. I'm going to book mark your site and keep checking for new details about once per week. I subscribed to your Feed as well.
Here is my homepage - nail salon Parktown North
We're a bunch of volunteers and opening a brand new scheme in our community. Your site offered us with useful information to work on. You've performed a formidable process and our whole community will likely be grateful to you.
my website; website
I feel this is one of the such a lot significant information for me.
And i am satisfied reading your article. However wanna remark on few general issues, The site
style is great, the articles is truly nice : D. Just right task,
cheers
I don't create a comment, however I glanced through some remarks on this page "Making a Wedding Invitation in Photoshop". I do have 2 questions for you if it's allright.
Could it be just me or does it give the impression like some of the remarks come across as if they are coming from brain dead visitors?
:-P And, if you are writing on additional online social sites, I'd like to keep up with you. Would you post a list of the complete urls of all your social pages like your twitter feed, Facebook page or linkedin profile?
Take a look at my webpage - know more
I needed to thank you for this wonderful read!! I definitely loved every little bit of it.
I have got you bookmarked to look at new stuff you post…
Feel free to visit my homepage - visit link
Post a Comment
DONATUR SYARIAH CHEK HARE